
How to Achieve a Secure Connection to EC2 Virtual Servers with Session Manager without the need of encryption keys
By Sahian Hernández, Infrastructure Analyst at Financial Solutions
When we talk about a secure way to access cloud resources, perhaps the first thing that comes to mind is to enable a pivot, open the SSH traffic from the server to the computer and once inside we can access the others servers in our VPC.
This can have several implications, for example, the servers must be in communication with each inside the network and security groups, or when creating the servers, they must have been assigned with a security key (.pem) in order to get access. In some cases, if the same key is used for all servers, a problem could arise when you need to quickly enable a new access for one or more people, but, if you want to give access to only one server, having the general key could potentially grant access to the rest.
There are several ways to mitigate small or large problems when working with pivots, however, AWS offers an easy-to-apply and very secure alternative which is System Manager.
And… What does System Manager do?
It is a service that can be used to view and control your infrastructure on AWS, helping you maintain security and compliance by analyzing your managed instances and reporting or taking corrective action on any policy violations it detects.
For more information on System Manager, see the AWS documentation here:
Steps to configure Session Manager
With System Manager we will be able to log into the server without the need for an encryption key (.pem), it will be enough for the user to have the corresponding permissions.
Only two steps are required to implement System Manager:
- Grant permissions to the server so it can use the resources, for this we will start by creating a role with the permission listed below
- Install the agent on the server
Step 1 Create the role
EC2SSMRole:
Type: “AWS::IAM::Role”
Properties:
AssumeRolePolicyDocument:
Version: “2012-10-17”
Statement:
– Effect: “Allow”
Principal:
Service: [“ec2.amazonaws.com”]
Action: “sts:AssumeRole”
Path: “/”
ManagedPolicyArns:
– ‘arn:aws:iam::aws:policy/AmazonSSMManagedInstanceCore’
– ‘arn:aws:iam::aws:policy/CloudWatchAgentServerPolicy’
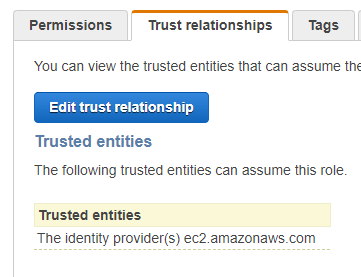
They must be created as follows:
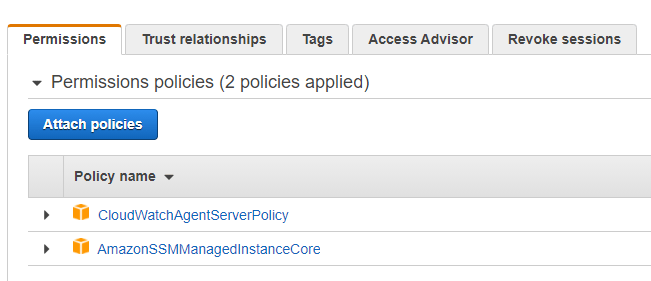
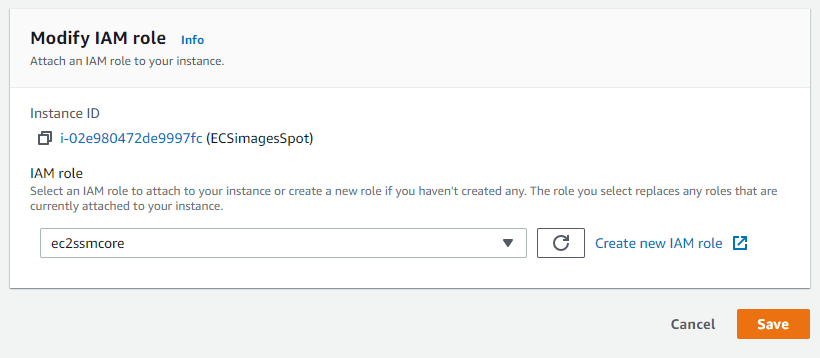
Finally, the role will be assigned to the instance in which we want to enable the agent:
Step 2 Agent installation
For the installation of the agent, we have to access the server through SSH and execute the following command:
sudo yum install -y https://bit.ly/3b0VpJb
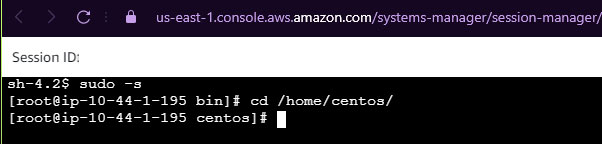
If the previous steps worked correctly, we can go to System manager > Session Manager click on Start a session and the server should be enabled.
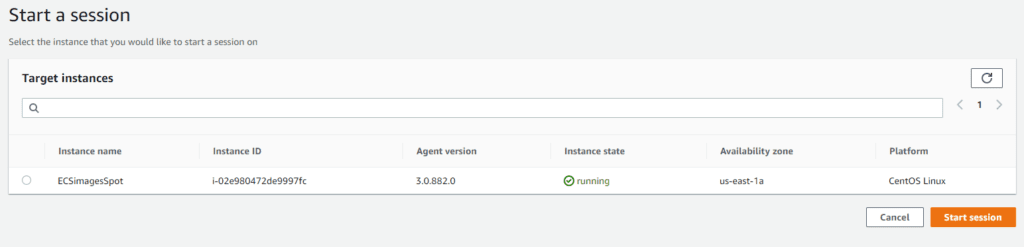
Subsequently selecting it we can access the server, (without the need for a key or password):
Uploading or downloading files on the server is something of every day and programs like WinSCP or SCP can help a lot, but in this case, we do not have a key to be able to use the programs; However, when using Session Manager, it is not necessary to open port 22, a port used by the aforementioned programs and represents a significant risk in terms of security.
With AWS, we have an option to solve the need to upload and download files in a simple way, we will explain how.
The first step will be to go to the S3 console and create a new bucket, then simply put the file you want to upload:
To start using your new Session Manager, using the console that was opened previously, we will install AWS CLI, in this case the commands may change depending on the operating system, but based on the official documentation (https://amzn.to/2RkdevR) we shouldn’t have any problems. Now we will give the server access to S3 and despite this could be achieved in several ways, in this guide we will do it using the same role that we have been using for Session Manager.
We will have to create a new policy, for this we can use this JSON:
{
“Version”: “2012-10-17”,
“Statement”: [
{
“Effect”: “Allow”,
“Action”: [
“s3:GetBucketLocation”,
“s3:ListAllMyBuckets”
],
“Resource”: “arn:aws:s3:::*”
},
{
“Effect”: “Allow”,
“Action”: “s3:*”,
“Resource”: [
“arn:aws:s3:::mybucket”,
“arn:aws:s3:::mybucket/*”
]
}
]
}
Based on my needs, I need to perform all the actions, but only in the bucket that I’ve created to copy the files.
Depending on the needs, this policy can be more or less strict.
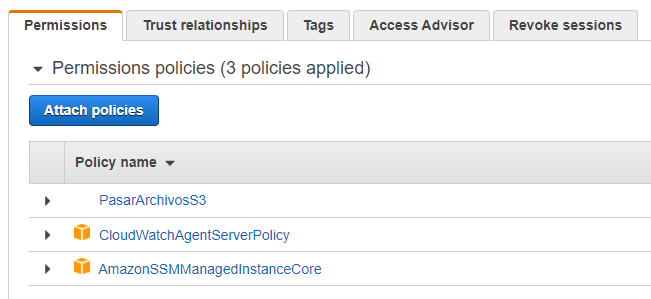
We will leave the same Role that we created in the beginning as follows:
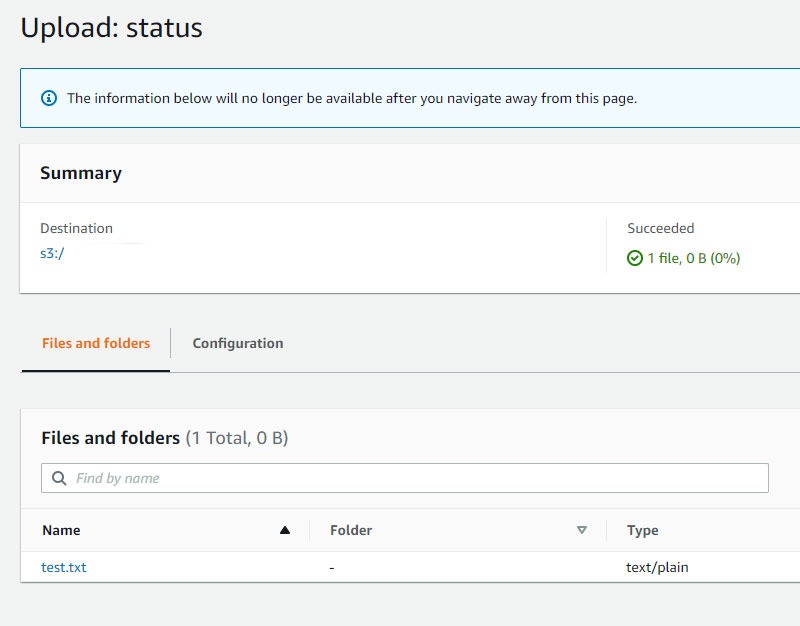
Finally, if everything was correct we can go to the console and synchronize our bucket:

In summary, Session Manager in conjunction with S3 is a good way to enable user access, without having to compromise the key or internet access. Similarly, it might be more convenient to work solely from the browser.
I would like to hear from you if this walkthrough worked as described, if you need help contact us!
At Financial Solutions, managing security and access to resources is key for all our projects, which is why we always seek to apply the best practices in the industry.
Related Post


Recent Posts


